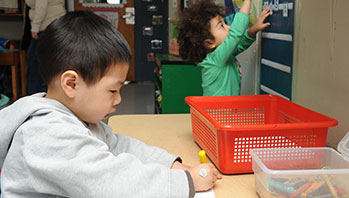
- drawing materials
- markers
- paper
- plastic food (cheese, tomato, bread)
- red dot stickers
- first
- last
- next
- then
MA Standards:
Writing/W.PK.MA.2: Use a combination of dictating and drawing to explain information about a topic.
Head Start Outcomes:
Literacy Knowledge/Early Writing: Experiments with writing tools and materials.
Literacy Knowledge/Early Writing: Uses scribbles, shapes, pictures, and letters to represent objects, stories, experiences, or ideas.
PreK Learning Guidelines:
English Language Arts/Composition 16: Use their own words or illustrations to describe their experiences, tell imaginative stories, or communicate information about a topic of interest.
Tomato and Cheese Sandwich

© Commonwealth of Massachusetts, Department of Early Education and Care (Jennifer Waddell photographer). All rights reserved.
Skill Focus: Concepts of Print, Creative Expression, Sequence, Vocabulary, Writing
Educator Prep: Before the activity write out the steps to the recipe below. Before each step place a write-on line for children to insert the step number. After each step, leave an area for children to draw a simple illustration of the step. Make one copy of the recipe sheet for each child.
Tell children you are going help them write the steps it takes to make a tomato and cheese sandwich. Have children write and say the numbers before you read each step. Use the food pieces to demonstrate as you talk through the recipe.
- Say, Step number one. This is the first step. (Write or have child write 1. on the line.) Say, Put two slices of bread on the table. (Have child illustrate by drawing two squares under step 1.)
- Say, Step number two. This is next. (Write or have child write 2.) Say, Put a slice of cheese on top of one slice of bread. (Child draws two squares; then colors one square orange to illustrate the cheese.)
- Say, Step number three. This is the next step. (Write or have child write 3.) Say, Put tomato slices on top of the cheese. (Child draws two squares; colors one orange and sticks on red dots to illustrate tomato slices.)
- Say, Step number four. This is the last step. (Write or have child write 4.) Say, Put the other slice of bread on top of the tomatoes. (Child draws one square to illustrate sandwich.)
- Say, Step number five. Eat!
Read back the recipe as children build the sandwich with the food items. Track the print as you read. You may want to have children chime in with the number of each step. Encourage children to take home their recipe card and make a sandwich with a family member.
Educator Tip: If you do not have plastic food, you can create the food items from foam sheets or cardboard. Cut out a few squares for cheese, a few circles for tomato slices, a few larger squares for bread (you may want to make the bread thicker by stacking 3 or 4 sheet sheets of cardboard or foam and gluing them together). Use colored material or paint your food items before the activity and allow time to dry.
Adaptation: For groups with young children, you may need to draw outline illustrations for children to color in rather than having them create the images themselves.
