- cardboard strips
- cardboard tubes
- crayons
- empty shoe boxes, paper ream boxes and lids, or other cardboard boxes (one for each child)
- glue
- markers
- masking tape
- small objects
- stickers
- down
- move
- ramp
- roll
- slant
MA Standards:
Speaking and Listening/SL.PK.MA.5: Create representations of experiences or stories (e.g., drawings, constructions with blocks or other materials, clay models) and explain them to others.
Head Start Outcomes:
Approaches to Learning/Initiative and Curiosity: Demonstrates flexibility, imagination, and inventiveness in approaching tasks and activities.
Literacy Knowledge/Early Writing: Uses scribbles, shapes, pictures, and letters to represent objects, stories, experiences, or ideas.
PreK Learning Guidelines:
English Language Arts/Language 3: Communicate personal experiences or interests.
My Own Ramp

© Commonwealth of Massachusetts, Department of Early Education and Care (Jennifer Waddell photographer). All rights reserved.
Skill Focus: Creative Expression, Small Motor Skills, Vocabulary
Have children create a portable ramp out of the materials. Discuss the explorations children have done with ramps.
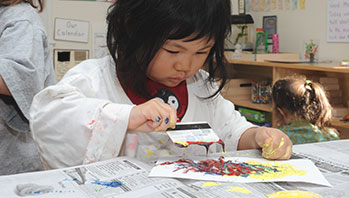
- Begin the activity by having children choose a box. Say, Decorate your ramp box so that it is easy to see and people will notice it. That way they will want to ask you about it. Then you can tell them about all the ramps and how they are used to make it easier for people to get things done, e.g., to move heavy objects or get into a building. Explain that after they are finished decorating the box, they will then assemble the ramp.
- Help children use the edge of the box or glue a tube on the bottom of the box to use as the base to attach the ramp. Then have them glue or tape the slanted incline to the base of their ramp. You may want to place a piece of tape at the bottom of the incline so it doesn’t move around or fall out.
- Have children move small objects down their ramp and talk about how each object moves. Children can take their ramps home to help them explain their observations about ramps.
