- craft sticks
- foil
- ice trays
- paints
- paper (large, white)
- water
Ice Art

© Tacita Morway
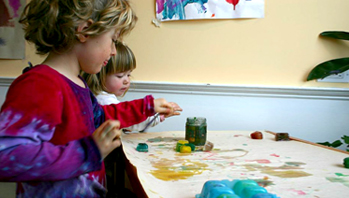
Explore art and science with colored ice cubes. Let your child “paint” with ice cubes as she learns about colors and liquids.
You will need to prepare the colored ice cubes the day before you are going to use them to paint. Follow these simple steps:
- Spoon one spoonful of washable paint into each section of an ice cube tray.
- Fill each section with water and cover with a piece of aluminum foil or plastic wrap.
- Push a craft stick through the foil or wrap and into each section.
- Then put the ice trays in the freezer and let the ice cubes freeze solid.
On painting day, spread a long sheet of paper on the ground outside. Let your child “paint” on the paper with the frozen cubes.
- Talk about what she sees happening. How is the ice cube changing as she paints?
- Have her make different strokes on the paper (short, quick strokes; long, slow strokes). How does the different stroke change how the ice melts?
- Have her try painting with ice in the sun and in the shade. Talk about how and why that makes a difference in how the ice melts.
Media Connection: Watch the live-action video PEEP and the Big Wide World “Painting with Water.” Your child may come away with some new ideas for the next time you explore painting with water together.

©2004, 2013 WGBH Educational Foundation. All Rights Reserved.
